About the app
Your complete money picture, kept entirely on your phone
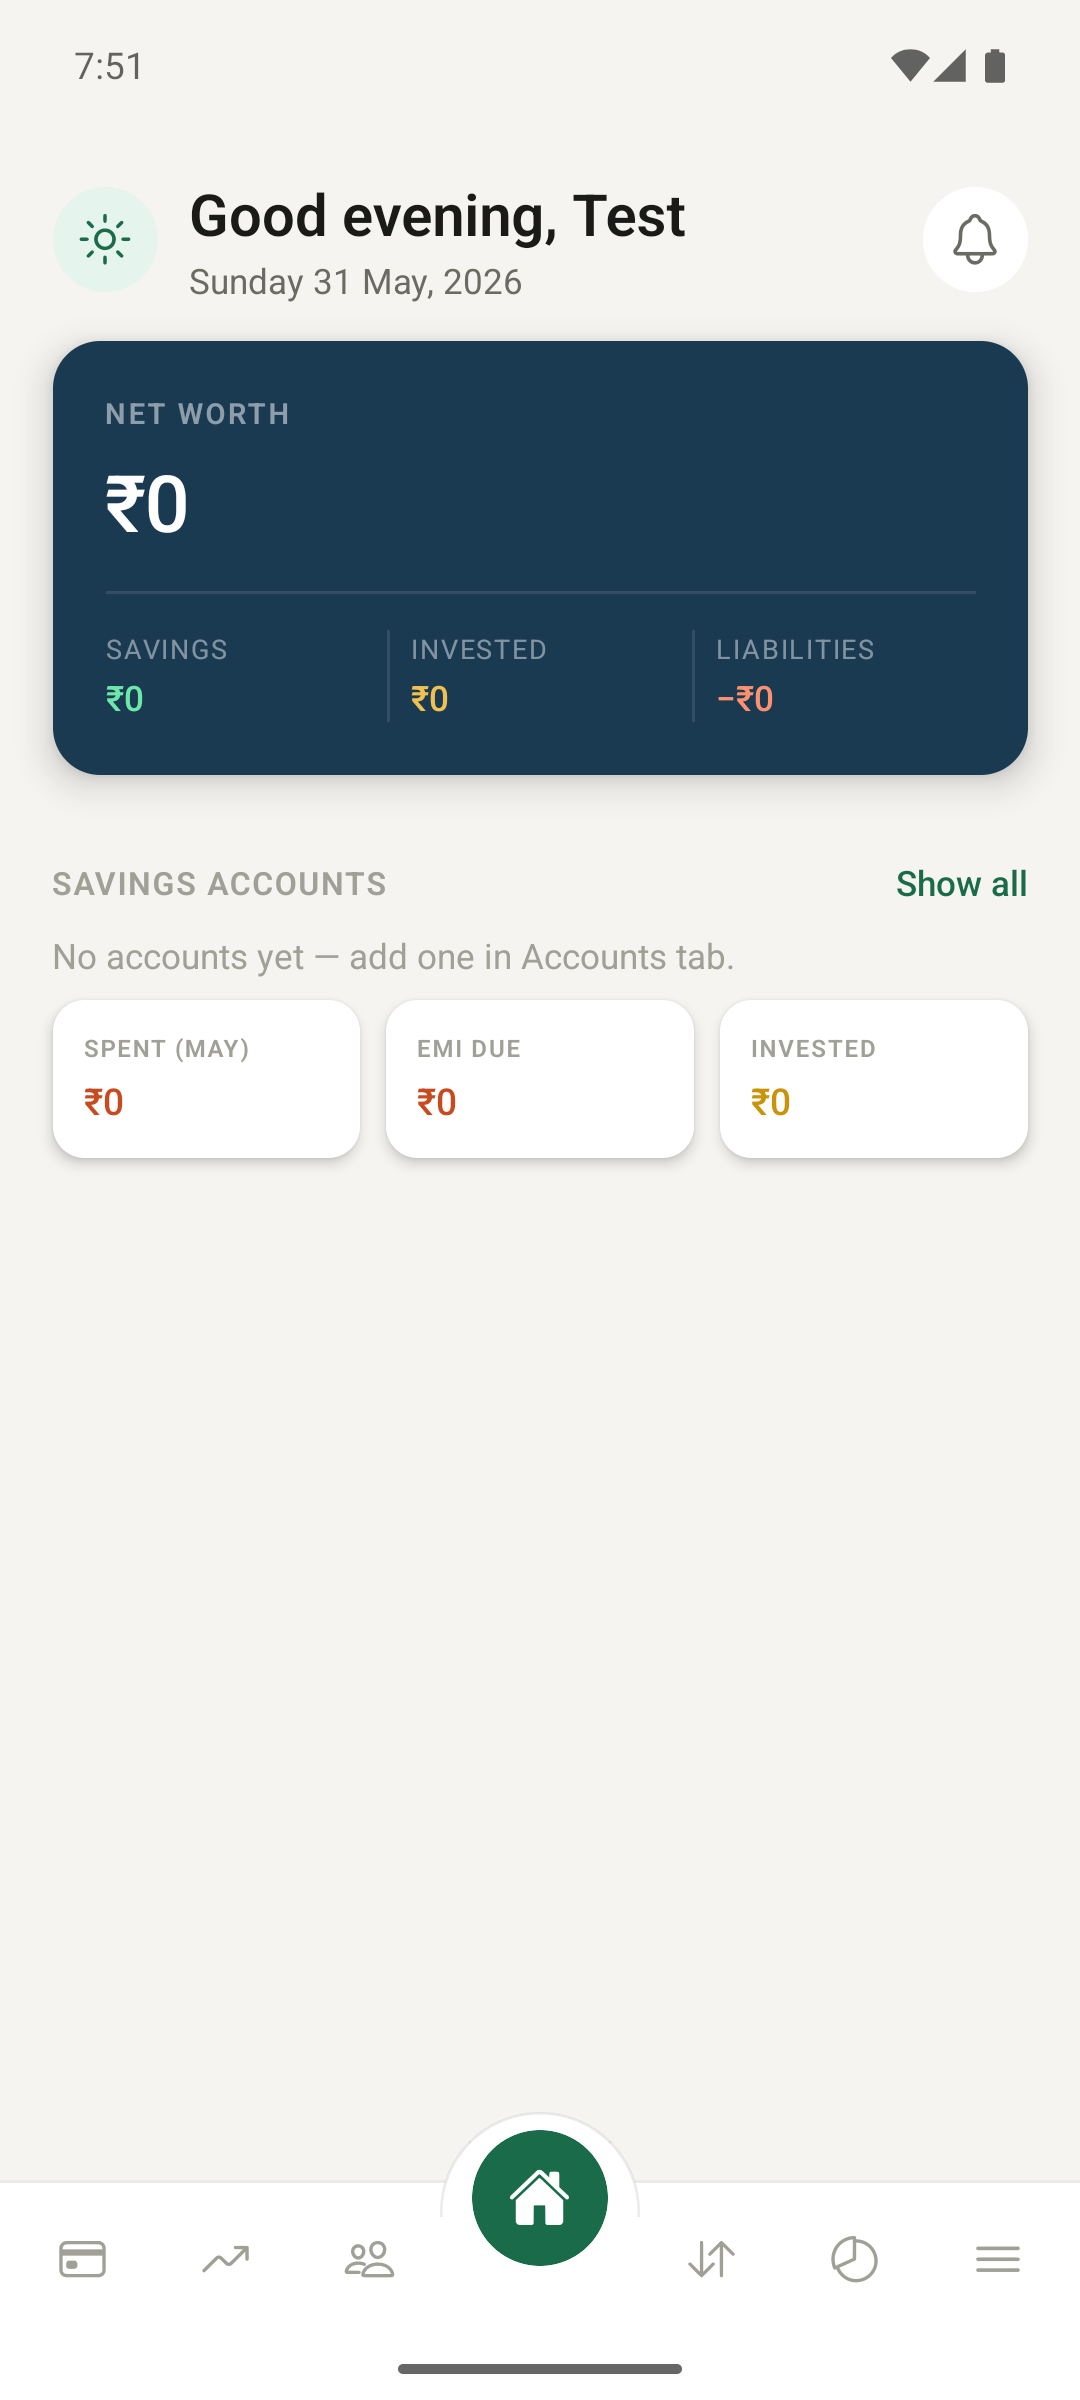
FinTracker helps you log day-to-day spending and income, track balances across
savings accounts, credit cards, loans, investments and insurance, set monthly
budgets, and understand your habits with clear reports. It is not a banking
app — it never connects to your bank. You enter what you want to track, and
FinTracker organises it for you.
🏦
Accounts in one place
Savings accounts, credit cards, loans, investments and insurance policies — your overall financial portfolio at a glance.
🔁
Auto-debits & mandates
Record SIPs, EMIs and subscriptions once — recurring transactions post themselves on schedule.
🎯
Budgets that follow you
Set a master budget once; it applies automatically each month. Fine-tune any month whenever you like.
🤝
Circles — dues & balances
Track money you have lent to or borrowed from friends and family, with repayment timelines.
📊
Insightful reports
Monthly and yearly views, spending heatmap, cash flow, and your top merchants.
🔐
Encrypted backups
Protect your exports with a master key — encrypted on your device before the file is ever written.
☁️
Your cloud, your choice
Optional daily backup to your own Google Drive or OneDrive account. The developer never gets a copy.
Privacy you can verify: everything you enter stays in a local
database on your phone. There is no analytics SDK, no ads, no telemetry and no
developer server. Nothing leaves your device unless you choose to export or
back it up.
How to use FinTracker
From first launch to full control — step by step
Please follow these steps in order the first time you use the app. After the
initial setup, each section stands on its own, so feel free to jump to the
topic you need.
1 First launch & profile
Shown automatically the first time you open the app
- Open FinTracker. A short welcome flow greets you.
- Please enter your Name — this is only used to greet you on the Home screen.
- Optionally add your Date of birth, then tap Next.
- Pick your profession if you wish (Student, Salaried, Self-Employed, and more) — it is entirely optional.
- Tap Get Started 🚀 and you will land on the Home dashboard.
You can edit your profile at any time from the ☰ menu — tap your profile card at the top of the panel.
2 Set up your accounts
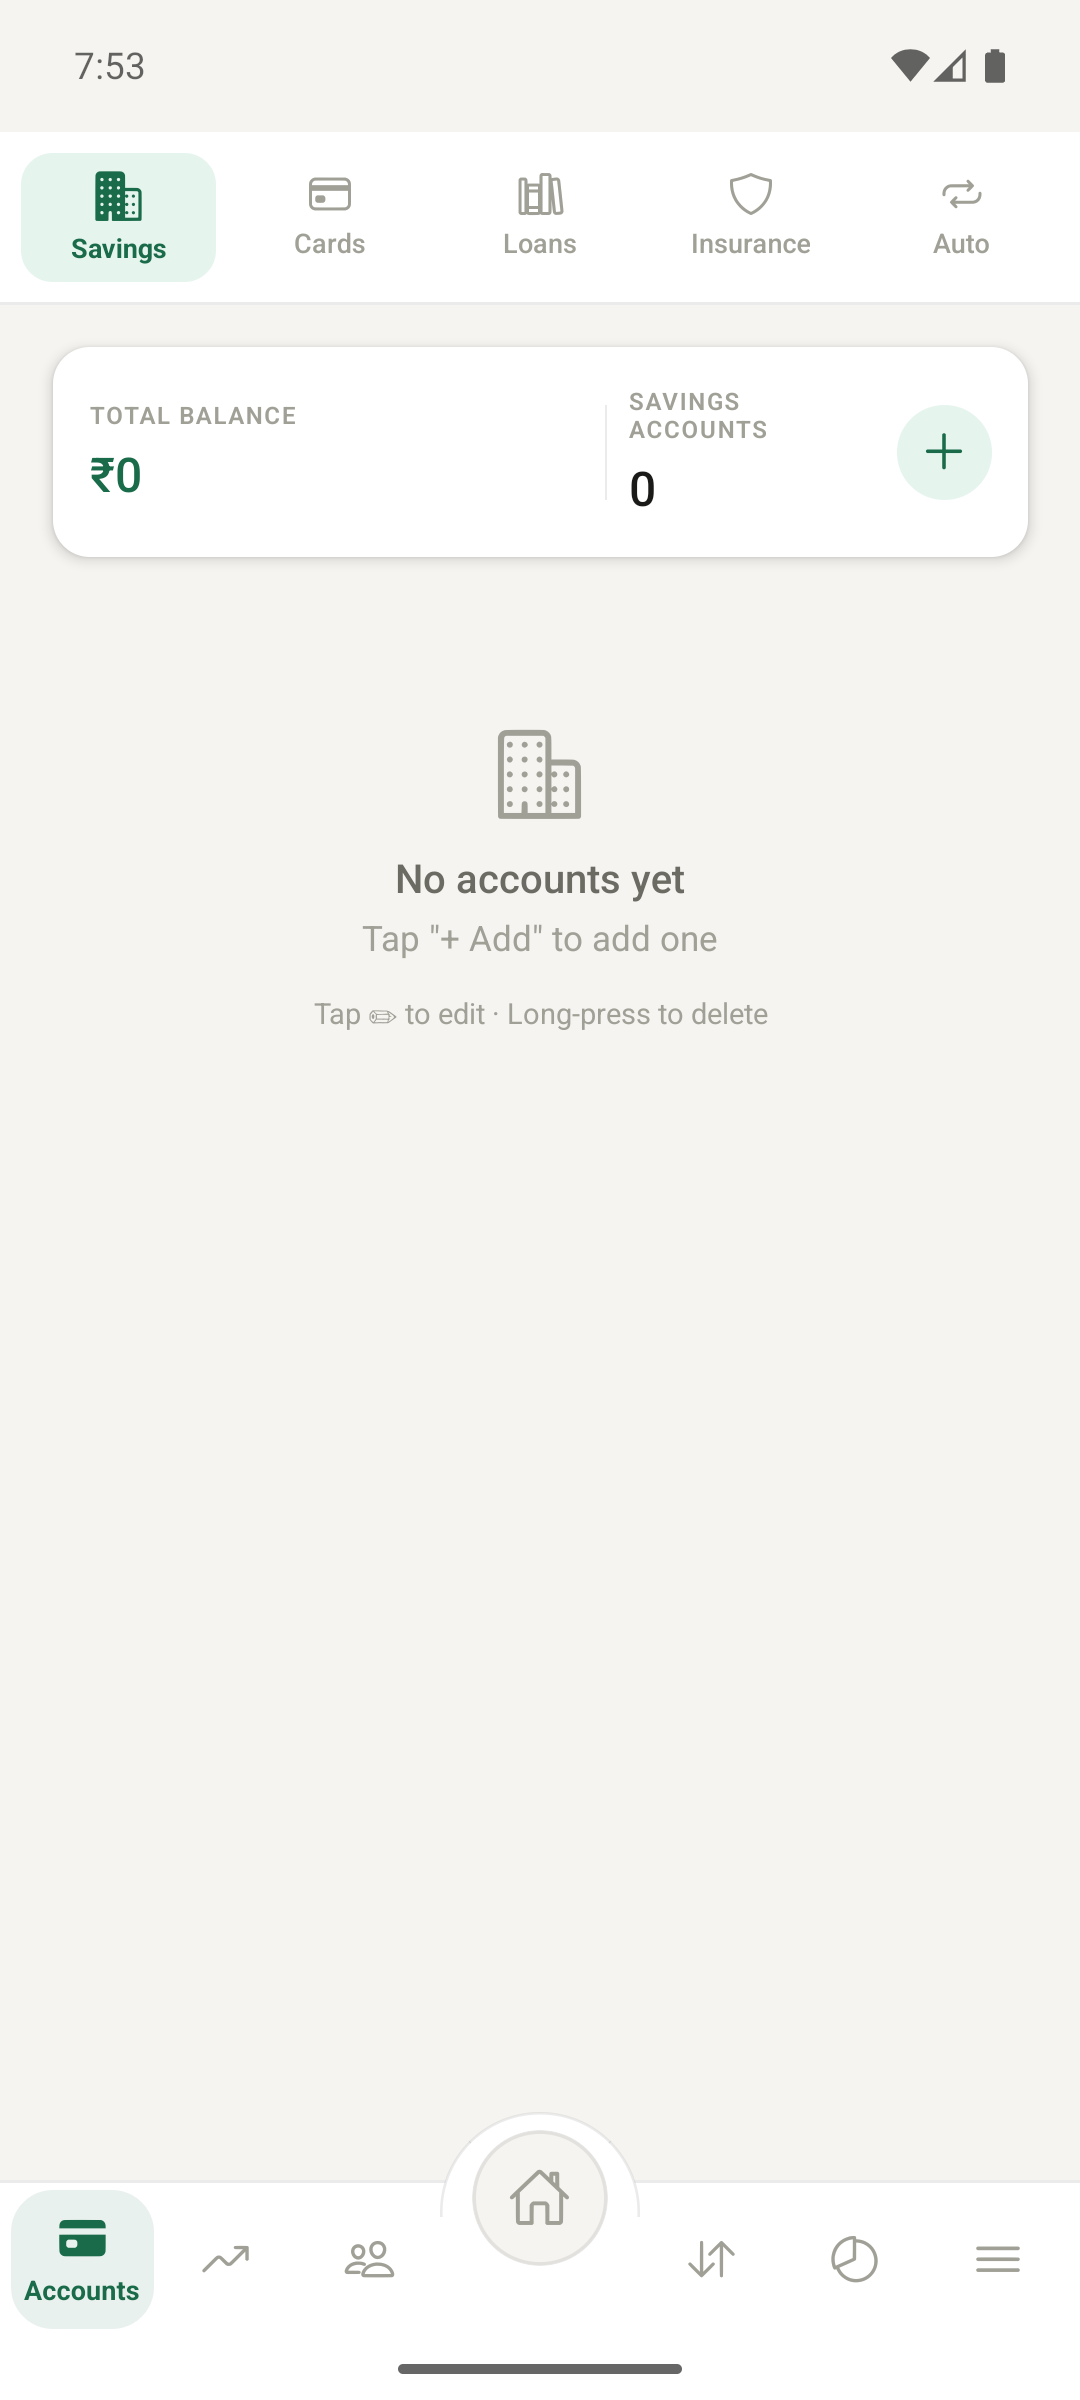
Go to the Accounts tab · pick a section: Savings · Cards · Loans · Auto · Insurance · investments live in the Invest tab
Setting up your accounts first makes everything else easier — transactions,
budgets and reports all build on them. Each section below takes only a
minute.
a) Savings / bank accounts
- In the Accounts tab, select the Savings section and tap + Add.
- Enter the Bank Name (for example, HDFC Bank) and choose the Account Type — Savings, FD, RD or Current.
- Enter your Current Balance. You may also add the last 4 digits of the account and a Minimum Balance — the app will kindly warn you if the balance drops near it.
- Tap Save. Your account card appears with its balance.
b) Credit cards
- Switch to the Cards section and tap + Add.
- Enter the Card Name, the Last 4 Digits, your Credit Limit and the Current Outstanding amount.
- Set the Bill Due Day and Billing Cycle Start Day so FinTracker can show days left to pay and this cycle's spend.
- Pick a card colour if you like, then tap Save.
c) Loans
- Switch to the Loans section and tap + Add.
- Enter the Loan Name (for example, Home Loan), the Sanctioned Amount and the Outstanding Amount.
- Add the Interest Rate, Tenure in months, EMI Amount and EMI Due Day.
- Tap Save. FinTracker tracks EMIs paid, principal and interest for you.
d) Investments
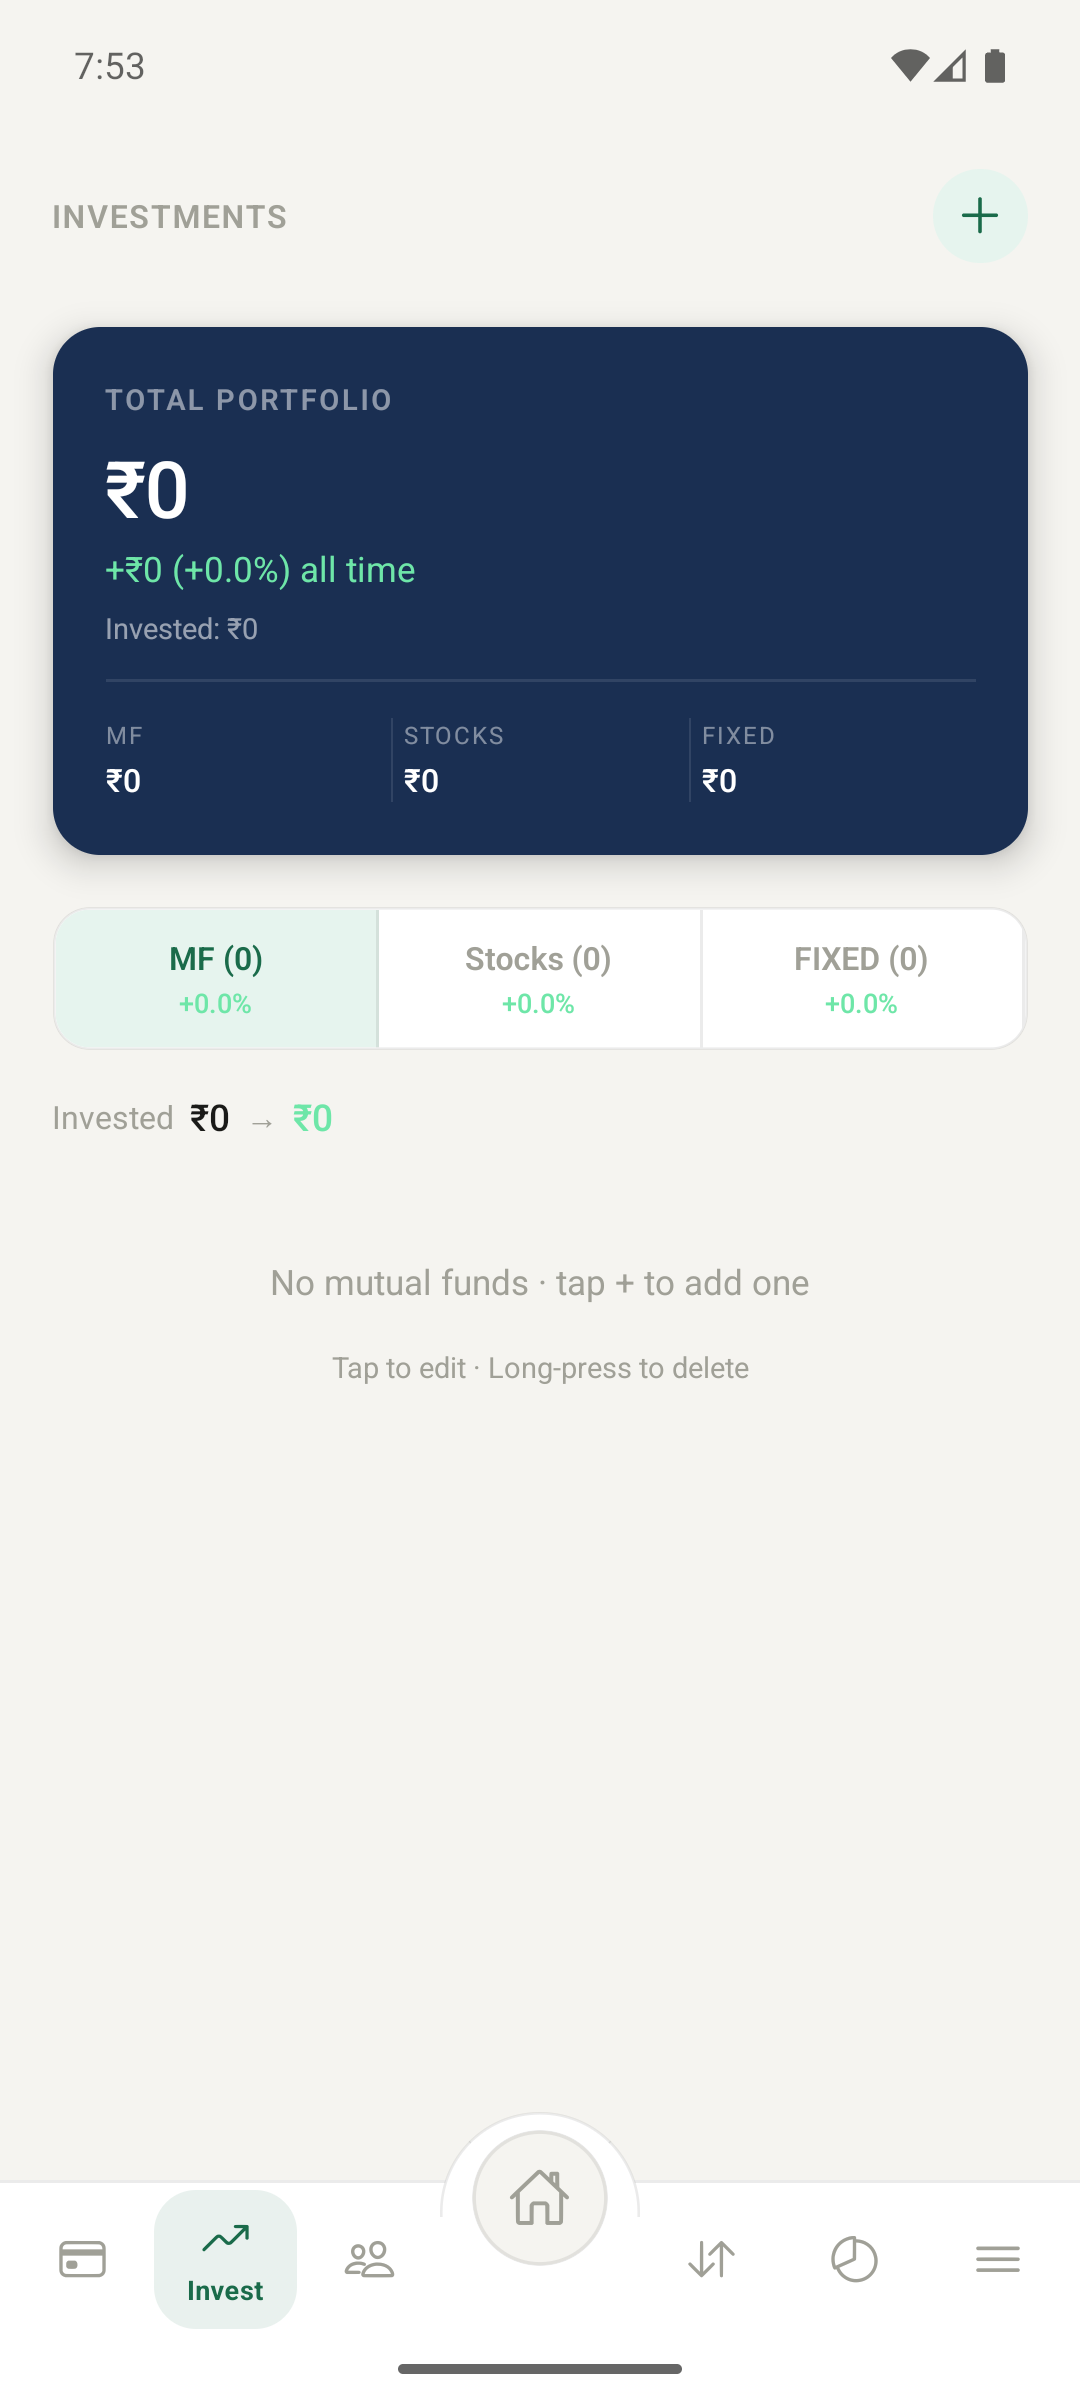
- Open the Invest tab and tap + Add.
- Choose the instrument type — Mutual Funds (SIP), Stocks, PPF, NPS, Fixed Deposit, Gold, Bonds, Pension or a custom type.
- Enter the name, the Invested Amount and the Current Value (use the invested amount if you are unsure). For funds and stocks you may also record units, NAV or average buy price.
- Optionally pick a Debit From Account so the purchase is reflected in your bank balance.
- Tap Save. Gains and losses are calculated for you, and your total portfolio appears at the top.
e) Insurance
- Back in the Accounts tab, select the Insurance section and tap +.
- Choose the policy type — Term Life, Health, Vehicle, Home or Other.
- Enter the Policy Name / Plan, the Insurer, the Sum Assured and the Premium Amount.
- Set the Payment Frequency and the Next Renewal Date — FinTracker will remind you before renewals.
- Optionally add a policy number, nominee and a premium debit source, then tap Save.
When a premium is due, open the policy and tap Pay Premium — the payment is recorded and your account balance is updated in one step.
3 Auto-debits — effortless recurring entries
Go to the Accounts tab · Auto section
Mandates are recurring payments that post themselves — perfect for SIPs,
EMIs, rent and subscriptions. Set one up once, and FinTracker records the
transaction automatically every time it falls due.
- In the Accounts tab, select the Auto section and tap + Add.
- Enter a name (for example, Netflix or Axis Bluechip SIP) and the Amount.
- Choose the Frequency — Daily, Weekly, Monthly, Quarterly, Half-yearly or Annually — and the Start Date.
- Pick the account or credit card to debit from, and a category so budgets stay accurate.
- Tap Save. The mandate card shows the next due date and your total monthly outflow.
When a due date arrives, the transaction is posted automatically — even if
the app was closed, it catches up the moment you open it. You can pause,
edit or delete a mandate at any time.
You will also receive a gentle notification when a mandate is coming up, and a low-balance warning if the debit account may not cover it.
4 Add transactions manually
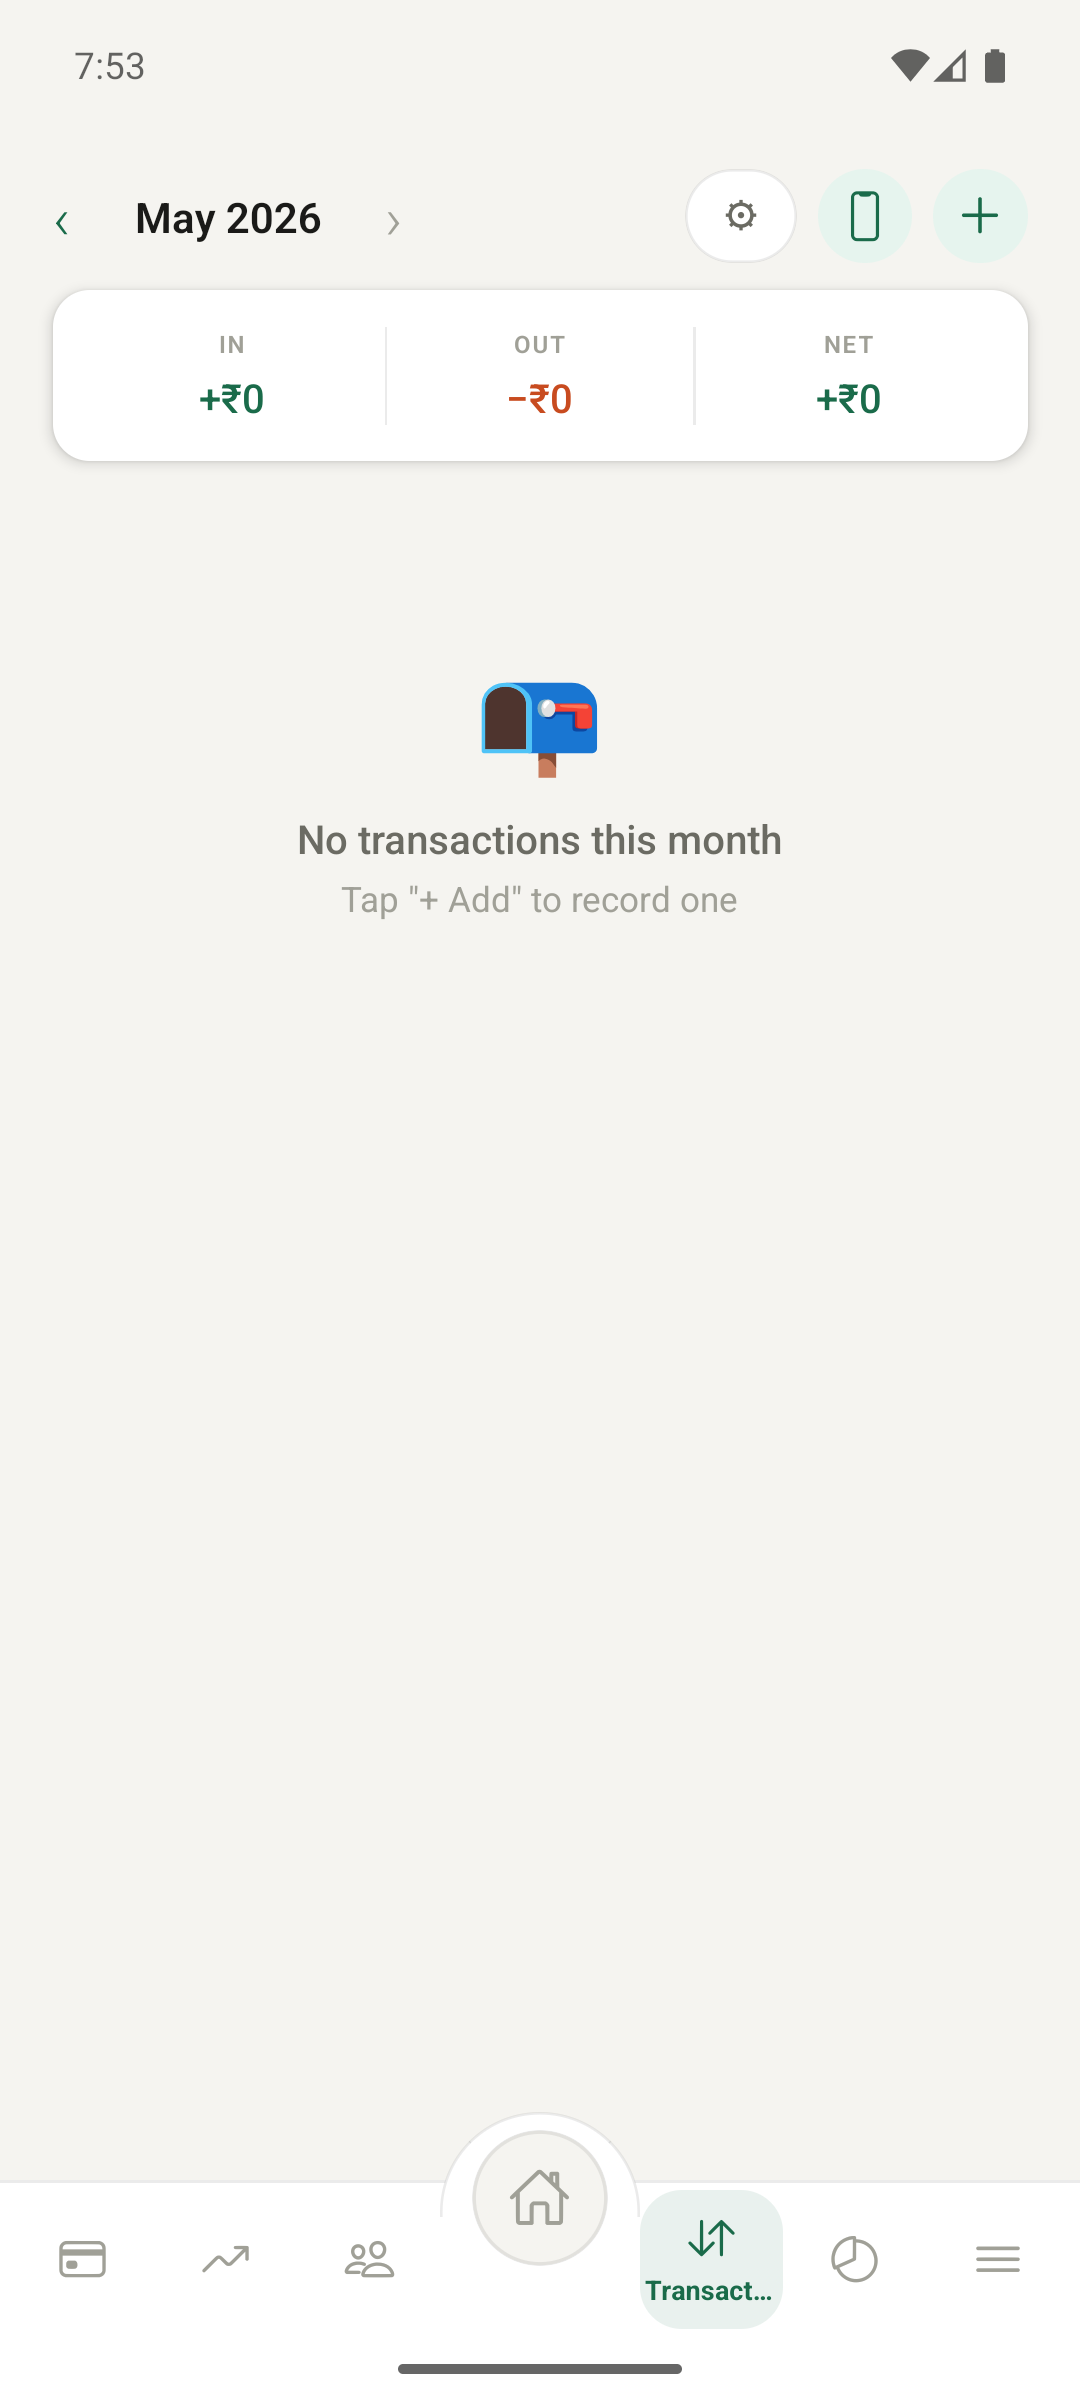
Go to the Transactions tab · tap + Add
- Open the Transactions tab and tap + Add.
- Choose the type: Expense, Income, Transfer (between your own accounts), Repayment (credit card bill or loan EMI) or Investment.
- Enter the Amount and pick the Date from the calendar.
- Select the account (or credit card for card spends) and a Category such as Food, Transport or Bills.
- Add a Merchant / Description, and a note or tags if you like — tags make searching easier later.
- Tap Save. Balances, budgets and reports update instantly.
Paying a credit card bill or EMI
- Choose the Repayment type (or tap 💳 Pay Bill on a card in the Accounts tab).
- Select which card or loan you are repaying and the bank account the money comes from.
- Tap Save — the outstanding amount and your bank balance are both updated together.
Tap any transaction to edit it, or long-press to delete. Use the filter bar to narrow the list by type, category, account or tag, and the search box to find a merchant or note.
5 Circles — money between you and others
Go to the Circles tab
Circles keeps a friendly ledger of dues — money you have lent to or borrowed
from friends, family or colleagues — so nothing is forgotten or awkward.
- Open the Circles tab and tap Add Due.
- Choose the type: I Gave (someone owes you) or I Received (you owe someone).
- Pick a contact, or tap New to add one with just a name (phone number optional).
- Enter the Amount, and optionally the account it moved through, a description (for example, “Lent for rent”) and an occasion (for example, “Goa trip”).
- Tap Save. The dashboard shows Owed to Me, I Owe and your Net Balance.
Settling a due
- Tap the due, then tap Record Repayment (or Record Payment if you are the one paying).
- Enter the amount received or paid — partial repayments are perfectly fine; the timeline shows how much remains.
- When the balance reaches zero the due is marked Fully settled and moves to the History tab.
If a due will never be repaid, you can choose Write off to close it gracefully while keeping the record.
6 Master budget — set it once
Tap the ☰ menu · Planning → Budget Planner
The master budget holds your default limits per category. Every new month
starts from these values automatically, so you only ever set them once.
- Tap the ☰ button on the tab bar to open the menu, then choose Budget Planner under Planning.
- You will see three sections: Expense, Income and Investment. Pick the one you want to plan.
- Under Set Budgets, enter a default monthly amount for each category you care about — Food, Transport, Bills, Rent, and so on. Your total monthly budget is shown at the top.
- Need a category of your own? Use + Add custom category, give it a name, an icon and a colour, and it becomes available everywhere in the app.
- Your changes are saved as you go — simply head back when you are done.
Investments you record in the Invest tab automatically count toward the matching investment budget bucket (for example, a mutual fund purchase counts toward SIP).
7 Customise a single month's budget
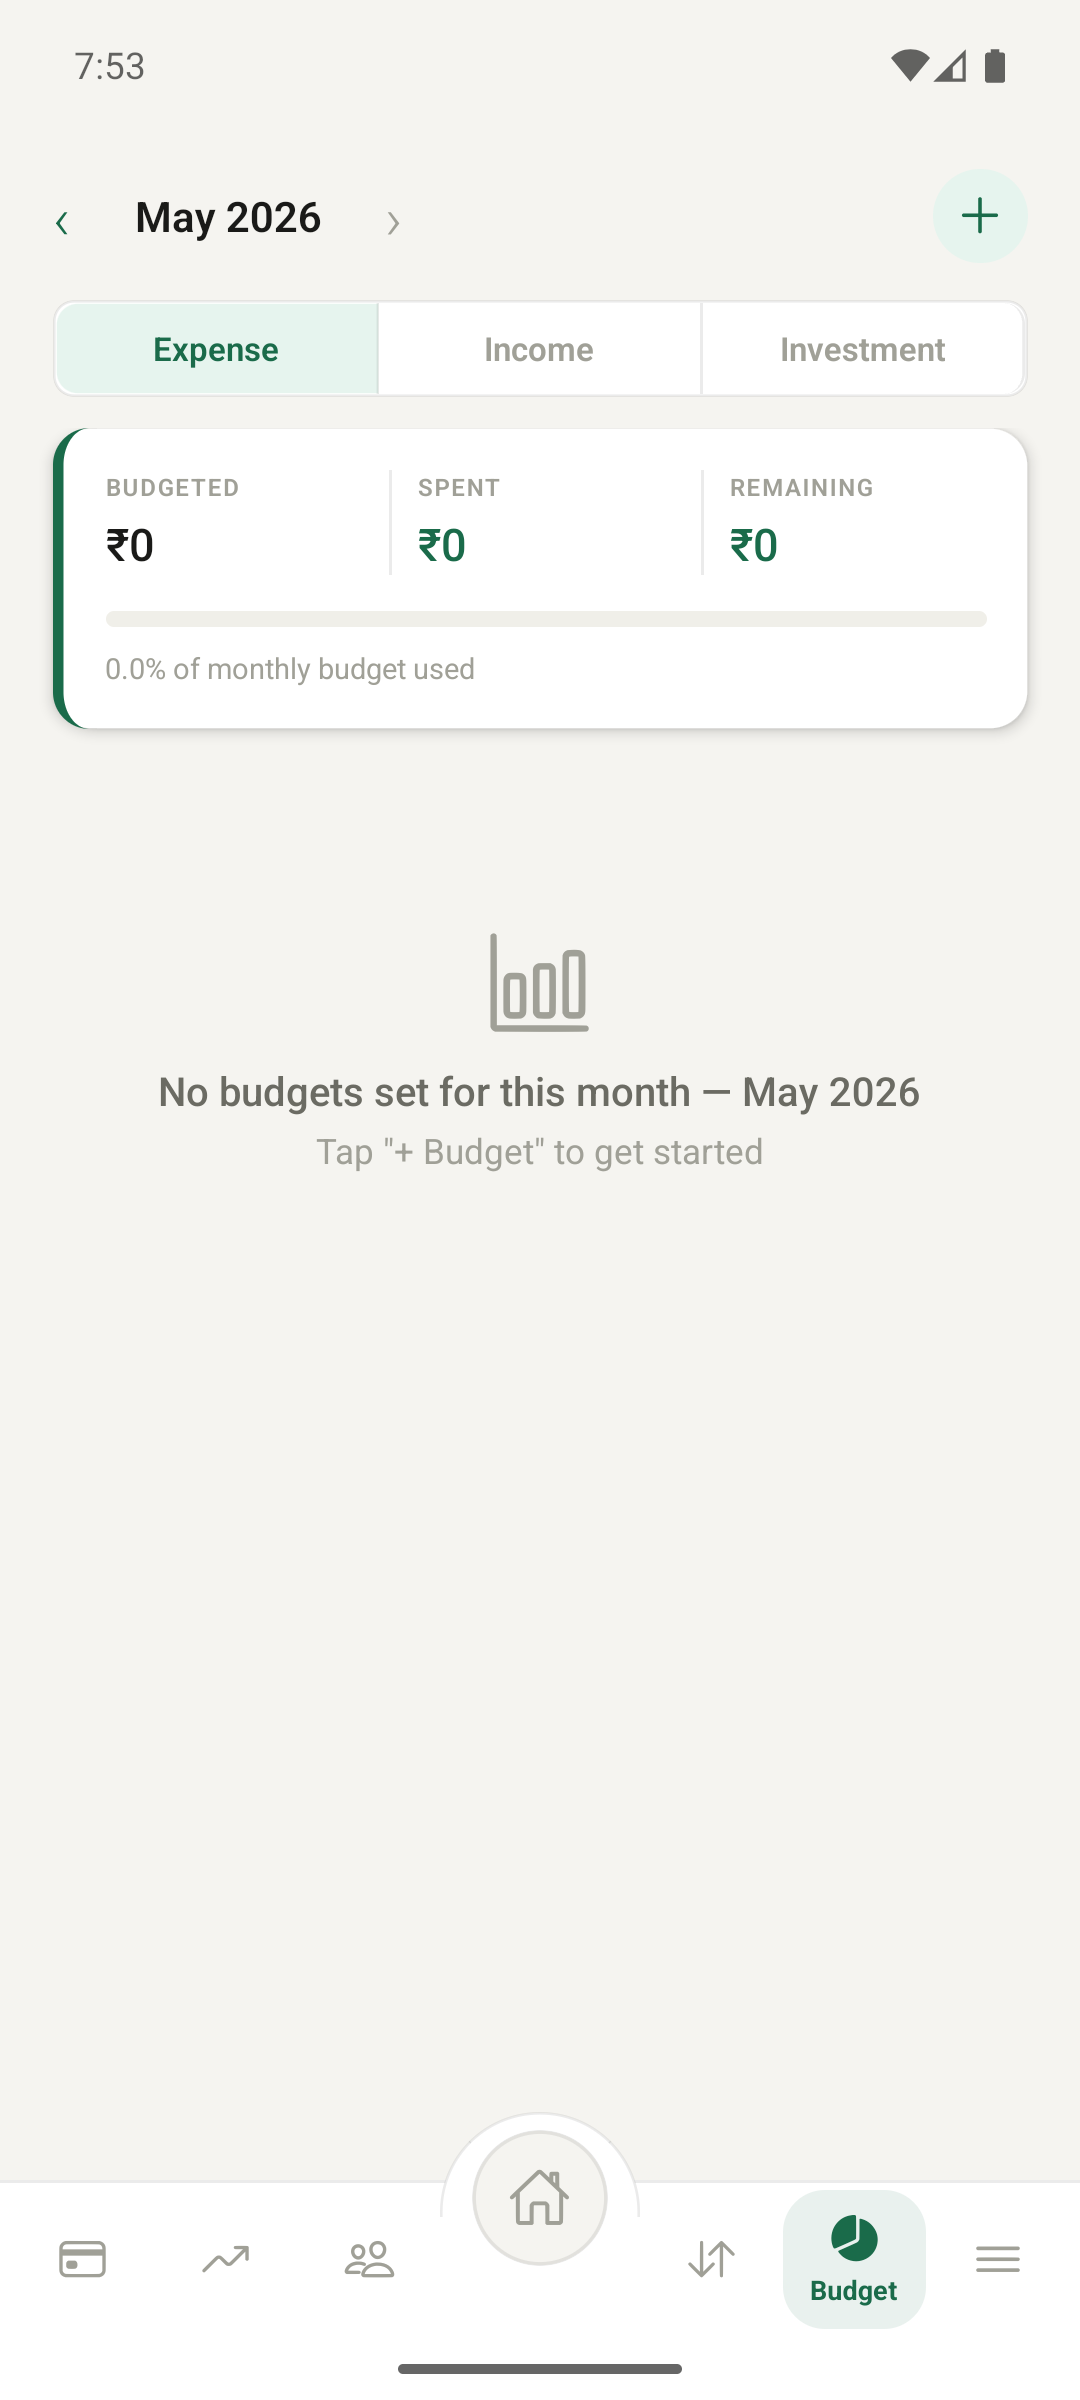
Go to the Budget tab
Expecting a festival, a holiday or a lean month? You can adjust any single
month without touching your master defaults.
- Open the Budget tab. The current month's budgets appear with colour-coded progress bars — green while comfortable, amber as you approach the limit, red when over.
- Use the arrows beside the month name to move between months.
- Tap any category to edit its amount for this month only, or tap + Budget to add a category that is not budgeted yet.
- Watch the summary at the top: Budgeted, Spent and Remaining, plus any unbudgeted spending so nothing slips through unseen.
When a category crosses 80% of its limit, the Budget tab highlights it for you — a friendly nudge before you actually overspend.
8 Reports — understand your habits
Tap the ☰ menu · Insights → Reports
- Open the ☰ menu and choose Reports.
- Switch between five views using the tabs at the top:
- Monthly — category breakdown for one month, with budget vs spent.
- Yearly — a month-by-month overview of the whole year.
- Heatmap — a spending calendar; darker days mean bigger spends.
- Cash Flow — income vs expenses, net saved and your save rate.
- Top Spenders — your top merchants, with medals for the biggest three.
Use the period selector to travel back through any month or year. Everything is calculated on your device, instantly.
9 Change language, currency & number format
Tap the ☰ menu · Settings → Locale Settings
- Open the ☰ menu and choose Locale Settings.
- Pick your Currency — INR, USD, EUR, GBP, JPY, SGD and more. The symbol and formatting update across the whole app.
- Under Number Format, choose your language. FinTracker speaks 23 languages, including Hindi, Tamil, Bengali, Telugu, Japanese, German, French, Spanish and Chinese, and formats numbers the way your locale expects (1,00,000 vs 100,000).
- Set your Financial Year Start — for example April for India, January for the US and EU — so yearly reports line up with your world.
After changing the currency or language, please restart the app once so every screen reformats completely.
10 Change the theme
Tap the ☰ menu · Settings → Appearance
- Open the ☰ menu and choose Appearance.
- Pick from five themes, each with a live preview swatch:
- Default — clean light theme with a forest-green accent.
- Dark — easy on the eyes at night.
- High Contrast — recommended for visual accessibility.
- Warm Sepia — gentle, paper-like tones.
- Ocean Blue — a cool blue palette.
The theme applies immediately; please reload the app once for the full effect on every screen.
11 Encrypt your data with a master key
Tap the ☰ menu · Settings → Security
A master key protects your exported backup files with strong, on-device
encryption. Even if a backup file falls into the wrong hands, it stays
unreadable without your key.
- Open the ☰ menu and choose Security.
- Tap Set Master Key.
- Enter a key of at least 6 characters, confirm it, and tap Save Key.
- From now on, exported backups can be encrypted with this key automatically — you will see Master Key Active in Security settings.
- You may change or remove the key at any time from the same screen.
Please keep your master key somewhere safe. If it is forgotten, encrypted backups cannot be recovered — there is no password reset, because nobody but you ever holds the key.
For everyday protection, you can also enable App Lock in the menu — FinTracker will then ask for your fingerprint or PIN every time it opens.
12 Download your data
Tap the ☰ menu · Settings → Backup & Restore, or Tools → Export to Excel / CSV
Your data is yours — take it with you in whichever format suits you best.
Full backup (everything)
- Open the ☰ menu and choose Backup & Restore.
- Tap Export Backup. If you would like the file encrypted, switch on Encrypt backup — your master key is used automatically, or you can enter a one-time password.
- Tap Export — the share sheet opens, and you can save the file to Google Drive, OneDrive, Files or any app you prefer.
- To restore later, tap Import Backup, pick your .ftbak or .json file, and enter the key if it was encrypted.
Spreadsheet export (transactions)
- Open the ☰ menu and choose Export to Excel / CSV under Tools.
- Pick a format — CSV, Excel or PDF — and filter by date range and account if you wish.
- Tap Export and share or save the file.
Automatic cloud backup (optional)
- In the ☰ menu, choose Cloud Sync and connect your own Google Drive or OneDrive account.
- Switch on Auto-sync daily and pick your preferred hour. Backups then upload themselves — directly from your phone to your cloud, never through us.
13 Erase your data
Tap the ☰ menu · Danger → Reset All Data
If you ever wish to start fresh or leave the app, you can wipe everything in
a few taps — the data is on your device, so deleting it there deletes it
everywhere.
- We kindly recommend exporting a backup first (see step 12), just in case you change your mind.
- Open the ☰ menu and choose Reset All Data in the Danger section.
- Read the confirmation carefully, type RESET to confirm, and tap Wipe All Data.
- All accounts, transactions, investments, budgets, loans, insurance policies and dues are permanently deleted from the device.
This action cannot be undone. Any backup files you exported earlier remain in your own storage and are yours to keep or delete.